Piano Posture Activity for Beginners
Share
Good posture helps piano students of all ages play comfortably, avoid tension, and enjoy making music. In our studio, we teach posture in a way that is simple and fun, so even beginners can build great habits from their very first lessons.
In this activity, we’ll guide you through a playful step-by-step posture check that students can do before every practice session. Parents and teachers can use this as a helpful reference at home or in lessons, and students can even print it out as a friendly reminder at the piano.
Step 1: Stretch and Scrunch!
Before we find our best posture, let’s wake up our body.
Start by tightening every part of your body to feel what "tense" feels like. This helps students understand the difference between tension and relaxation, which is an important part of playing comfortably.
Try this:
- Curl your toes tight
- Scrunch your face like a funny emoji
- Clench your fists
- Shrug your shoulders up to your ears
- Hunch your back and squeeze in tight
Hold for a few seconds...
Now shake it out! Stretch tall and feel your body relax.
Feeling tension on purpose helps us recognize what it feels like, so we can avoid it when we play.
Step 2: Build Your Playing Posture
Now that we’ve stretched and loosened up, let’s build great posture from head to toe.
Move slowly through each part of your body and check each one.
| Body Part | What to Do |
|---|---|
| Head | Imagine a string gently lifting your head toward the ceiling. |
| Face | Relax your face and jaw. Breathe naturally and stay soft. |
| Shoulders | Roll your shoulders back and down. Keep them soft and relaxed, not stiff. |
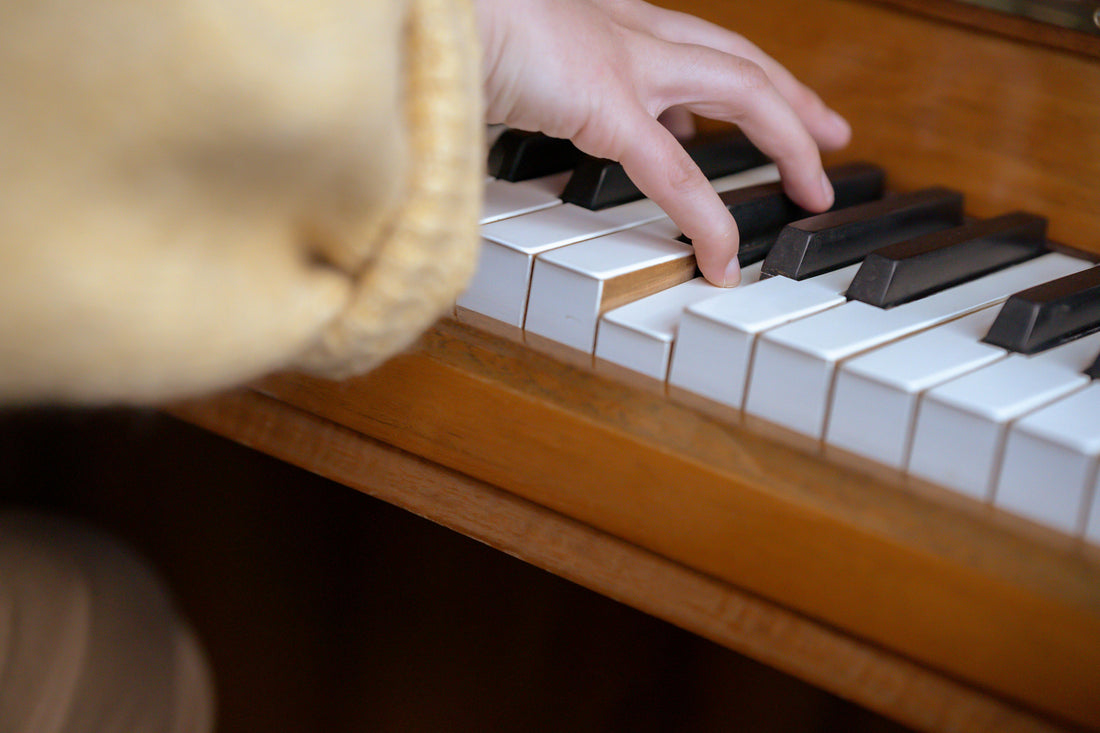
| Arms | Let your arms hang by your sides to release tension. Then bend your elbows and float your hands up to the keys. |
| Hands and Fingers | Pretend you’re holding a small ball or bubble. Keep your fingers naturally curved. Rest your fingers gently on the keys, using your fingertips. |
| Wrists | Your wrists should feel soft and level, not floppy or stiff. |
| Back | Sit tall and balanced. Stay comfortable, and avoid leaning into the piano. |
| Feet | Place your feet flat on the floor or a sturdy footstool. Feel steady and grounded, like your feet are helping you stay balanced. |
Good posture helps you play longer, feel stronger, and enjoy your practice more!
Step 3: Quick Power Check Before You Play
Before you start playing, do this fast checklist:
- Am I sitting tall and relaxed?
- Are my shoulders soft and my arms free to move?
- Are my wrists soft and level?
- Are my fingers curved and ready to play?
- Are my feet flat and steady?
If you can say yes to all of these, you’re ready to play!
This quick check can be part of your daily practice routine.
Step 4: Record and Reflect
It's good practice to record a short video of your practice at home. Watching yourself play is a great way to spot good posture habits.
Look for:
- One thing you did really well
- One thing to improve next time
Write your notes in your practice journal or homework book, and share them with your teacher at your next lesson!
Keep Practicing!
Good posture is not about being perfect. It is about helping you play your best, stay comfortable, and enjoy your music.
We use this posture activity in our lessons at The Modern Piano Room, and it’s a great habit for home practice too. If you’d like to learn more about healthy playing habits and how to support your child’s learning at home, explore our lesson options or book a free consultation.